Subscribe to get full access to this operation and the extensive Knee Surgery Atlas.
FREE TRIAL
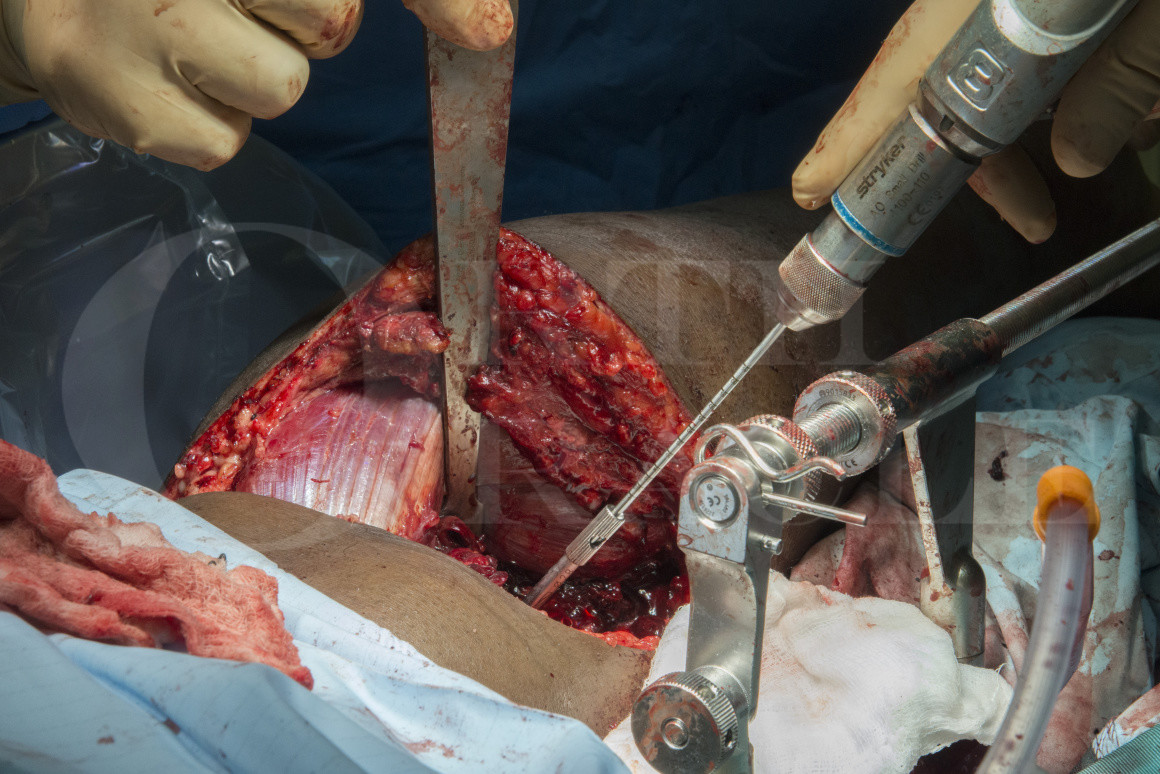
Learn the Tibial plateau fracture: Posterior column fracture fixed with Synthes proximal tibial LISS plate surgical technique with step by step instructions on OrthOracle. Our e-learning platform contains high resolution images and a certified CME of the Tibial plateau fracture: Posterior column fracture fixed with Synthes proximal tibial LISS plate surgical procedure.
As with much of adult trauma tibial plateau fractures have a bimodal distribution. In younger patients these injuries result from high energy mechanisms such as falls from height or road traffic accidents whereas in the elderly population they more often result from simple falls.
Tibial plateau injuries have been classified by Schatzker, on the basis of plain film radiographs, into 6 types. Types 5 (bicondylar) and type 6 (bicondylar with complete separation of the joint surface from the tibial shaft) represent the higher energy injuries. A more recent classification by Luo, based on CT scans, divides the tibial plateau into 3 columns, medial, lateral and posterior and helps to guide the surgical approach to the fracture depending on the precise fracture configuration.
The majority of tibial plateau fractures involve the lateral side and can be approached with the standard anterolateral approach with meniscal elevation. For those fractures with medial or posterior involvement a number of further approaches are possible from direct medial, postero-medial, direct posterior or even poster-lateral. Fixation of bicondylar tibial plateau fractures via a single anterior mid-line incision is now generally avoided owing to extensive soft tissue dissection required and the consequential wound problems associated with this approach.
Readers will also find of interest Sleeved Total Knee Replacement for Tibial Plateau Fracture (MBT DePuy)
Author: Mr Paul Fenton FRCS (Tr & Orth)
Institution: The Queen Elizabeth Hospital, Birmingham, UK.
Clinicians should seek clarification on whether any implant demonstrated is licensed for use in their own country.
In the USA contact: fda.gov
In the UK contact: gov.uk
In the EU contact: ema.europa.eu

 00:00
00:00